FUSE-based file system backed by Amazon S3.
S3fs is a FUSE filesystem that allows you to mount an Amazon S3 bucket as a local filesystem. It doesn’t store anything on the Amazon EC2, but user can access the data on S3 from EC2 instance, as if a network drive attached to it.
S3fs-fuse project is written in python backed by Amazons Simple Storage service. Amazon offers an open API to build applications on top of this service, which several companies have done, using a variety of interfaces (web, rsync, fuse, etc).
Steps
These steps are specific to an Ubuntu Server.
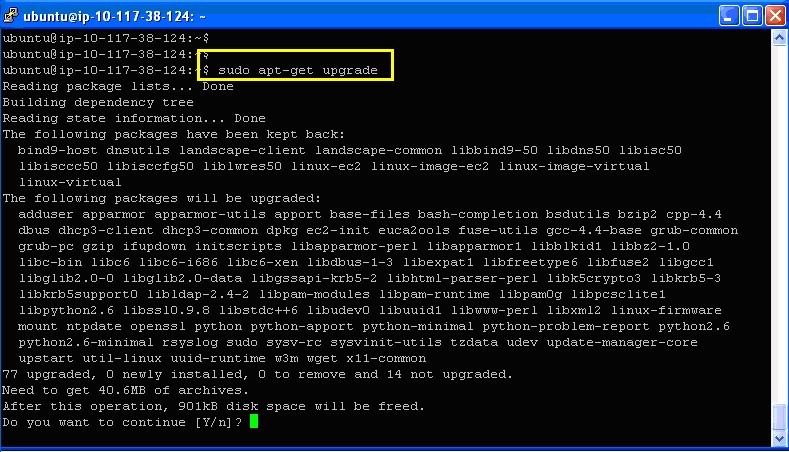
 4.Type command to upgrade the libraries. If any msg is prompted, say ‘y’ or ‘OK’ as applicable.
Once upgrade is complete, install the necessary libraries for fuse with following command
If any msg is prompted, say ‘y’ or ‘OK’ as applicable.

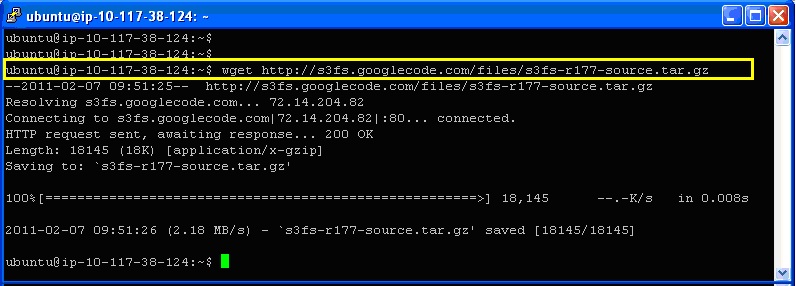
5. Once all the packages are installed, download the s3fs source (Revision 177 as of this writing) from the Google Code project:
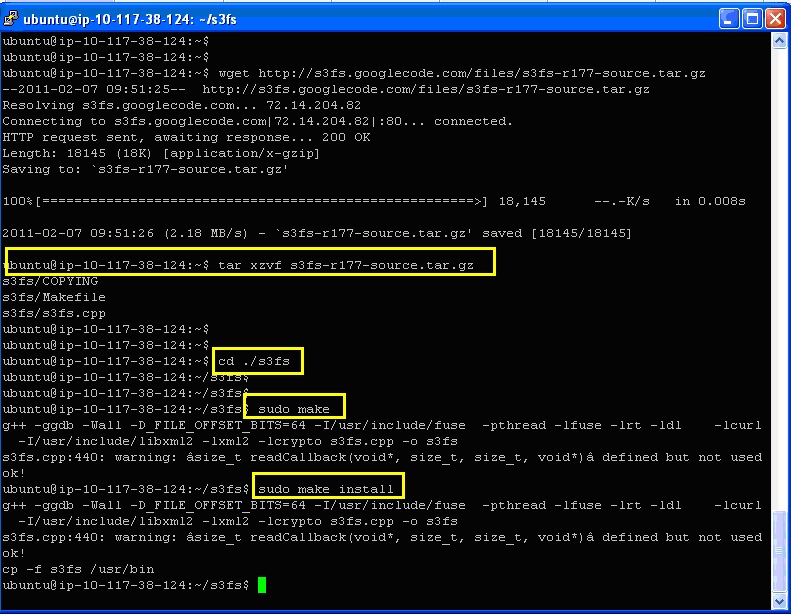
 6.Untar and install the s3fs binary: (Run each command individually)
 7. In order to use the allow_other option (see below) you will need to modify the fuse configuration:
And uncomment the following line in the conf file: ( To uncomment a line, remove the ‘#’ symbol )

Save the file using command: ‘Esc + : wq ’
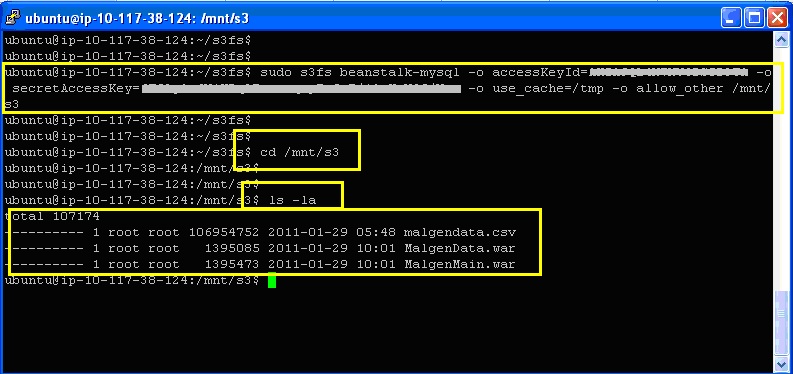

S3fs is a FUSE filesystem that allows you to mount an Amazon S3 bucket as a local filesystem. It doesn’t store anything on the Amazon EC2, but user can access the data on S3 from EC2 instance, as if a network drive attached to it.
S3fs-fuse project is written in python backed by Amazons Simple Storage service. Amazon offers an open API to build applications on top of this service, which several companies have done, using a variety of interfaces (web, rsync, fuse, etc).
Steps
These steps are specific to an Ubuntu Server.
- Launch an Ubuntu Server on AWS EC2. (Recommended AMI – ami-4205e72b, username : ubuntu )
- Login to the Server using Winscp / Putty
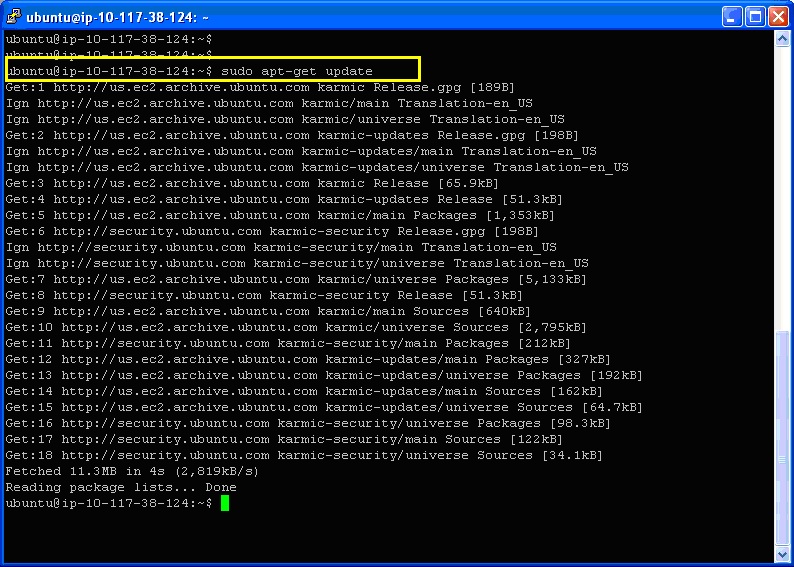
- Type below command to update the existing libraries on the server.
sudo apt-get update
sudo apt-get upgrade
Once upgrade is complete, install the necessary libraries for fuse with following command
sudo aptitude install build-essential libcurl4-openssl-dev libxml2-dev libfuse-dev comerr-dev libfuse2 libidn11-dev libkadm55 libkrb5-dev libldap2-dev libselinux1-dev libsepol1-dev pkg-config fuse-utils sshfsIf any msg is prompted, say ‘y’ or ‘OK’ as applicable.

5. Once all the packages are installed, download the s3fs source (Revision 177 as of this writing) from the Google Code project:
wget http://s3fs.googlecode.com/files/s3fs-r177-source.tar.gz
tar xzvf s3fs-r177-source.tar.gzcd ./s3fssudo makesudo make install
sudo vi /etc/fuse.conf
Save the file using command: ‘Esc + : wq ’
8. Now you can mount an S3 bucket. Create directory using command :
sudo mkdir -p /mnt/s3
Mount the bucket to the created directory
sudo s3fs bucketname -o accessKeyId=XXX -o secretAccessKey=YYY -o use_cache=/tmp -o allow_other /mnt/s3
Replace the XXX above with your real Amazon Access Key and YYY with your real Secret Key.

Command also includes instruction to cache the bucket’s files locally (in /tmp) and to Allow other users to be able to manipulate files in the mount.
Now any files written to /mnt/s3 will be replicated to your Amazon S3 bucket.

WinScp – Verify mount directory
Check the wiki documentation for more options available to s3fs, including how to save your Access Key and Secret Key in /etc/passwd-s3fs.
No comments:
Post a Comment